
As a smartphone owner, you have the ability to set up your device to properly register your phone number for E911 services.
If You’re an Android User
From the Home screen, navigate: Apps icon > Settings > Advanced Calling. If unavailable, navigate: Apps icon > Settings > More > Advanced Calling. For Samsung devices, navigate: Apps > Settings > Connections.
- Tap Wi-Fi Calling.
- Tap Update Current Emergency Address.
- Tap Update Emergency Address.
- Edit the address if needed then tap Save.
If You Own an Apple iPhone
From the Home screen navigate: Settings Settings icon > Phone. If unavailable, swipe left to access the App Library.
- Tap Wi-Fi Calling.
- Tap Update Emergency Address.
- Wi-Fi Calling Address: To proceed, from the Terms and Conditions screen, tap the radio button then tap Continue.
- Do one of the following to return to the Home screen:
- For devices with Face ID, swipe up from the bottom of the screen.
- For devices with Touch ID, tap the Home button.
- If address validation fails you are prompted to enter a new address until a valid address is entered. Keep in mind that this info gets transmitted to the emergency dispatcher for all 911 calls made over a Wi-Fi network.
E911 for Businesses
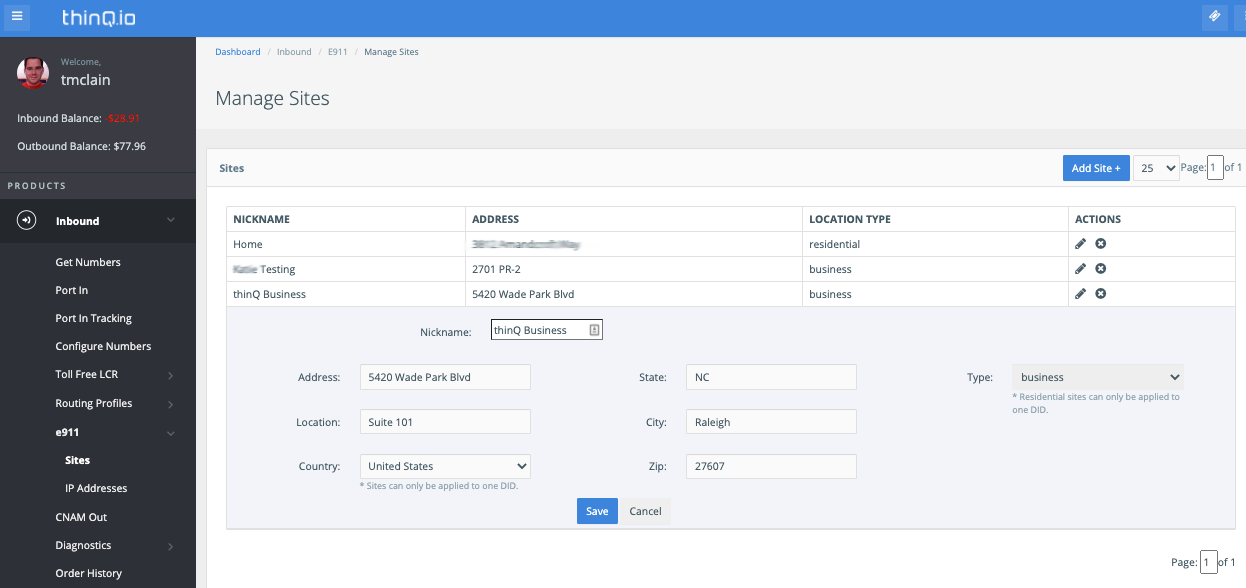
For business VoIP services, E911 can be set up with your service provider. If you’re a Commio customer, you can easily add E911 information to any phone number you purchase or port to our inbound voice solution. In thinQ io under E911, select e911, Sites, then add a physical address to any of your phone numbers (DIDs).
Have questions about E911 for your numbers? Commio is here to help. Set up a demo today.